


Tiling is a popular home improvement task, preparation is essential in making sure your tile projects are completed without any problems. We want to highlight the most common tiling mistakes so you can avoid the grief of ruining tiles during installation for indoor and outdoor areas.
Here are 10 of the most common mistakes made during tile installation.
Unprepared Surfaces
Before starting, remember to clean and smooth the surface where you will be laying the tiles, and be sure to remove any coatings prior to tiling.
Grouting Unevenly or Too Quickly
Ideally, you should spread the grout evenly and slowly using a support tool like a squeegee. If you do this too quickly and grout a large area before laying your tiles, the grout on far-off spots may dry out and lead to an uneven tiling result. Also, it is important to remove excess grout immediately after laying each tile, as it will be harder to do once it has dried up.
Dotting Corners
Some people believe that adding dots of adhesive to the corners of tiles can help achieve a stronger bond. However, doing this can actually increase the chance of cracking because the adhesive can shrink as it dries. With the adhesive being thicker in some areas, for instance in the corners, there will be pressure on the tile.
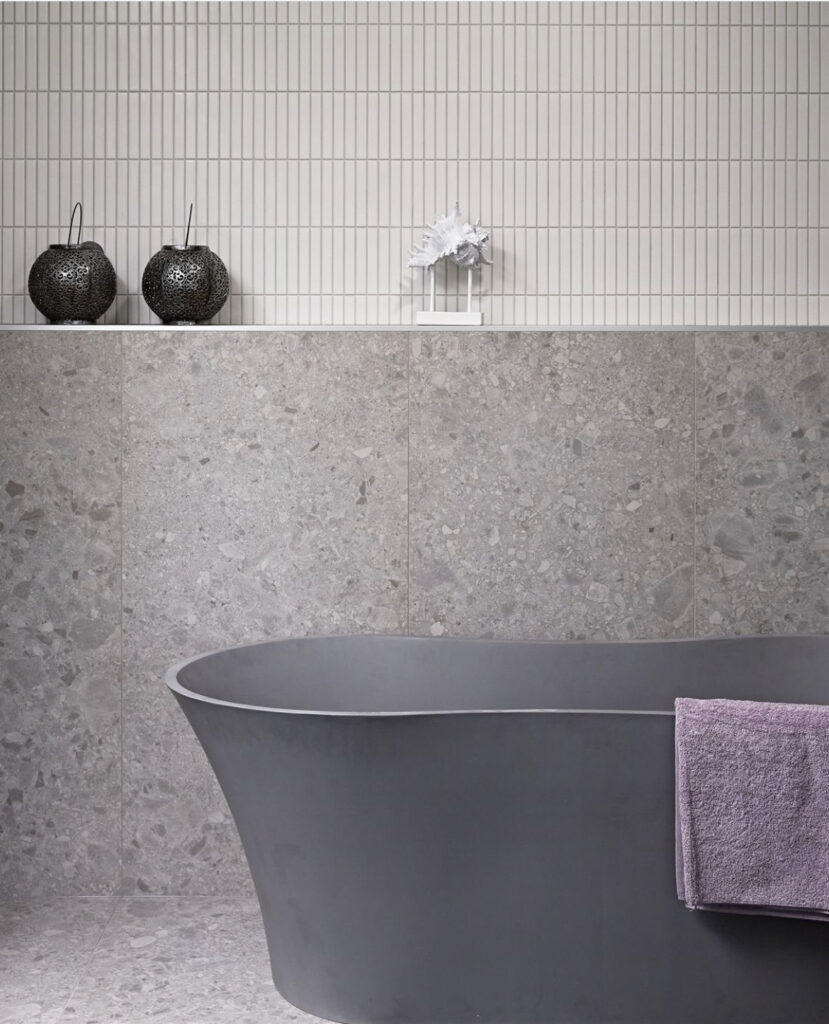
Choosing the wrong adhesive
This is releveant for laying tiles in humid rooms like bathrooms and swimming pools. In such cases, waterproof adhesive is a must. Even well-fitted tiles can let water through to the adhesive, leading to crumbling and breaking.
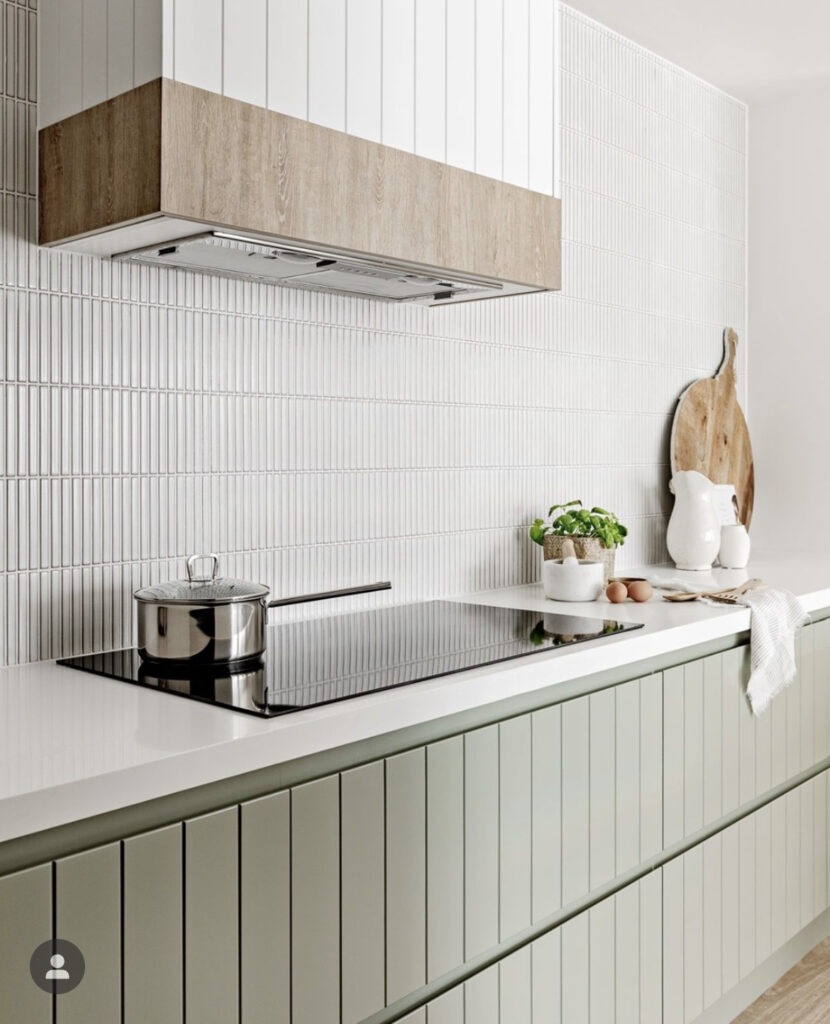
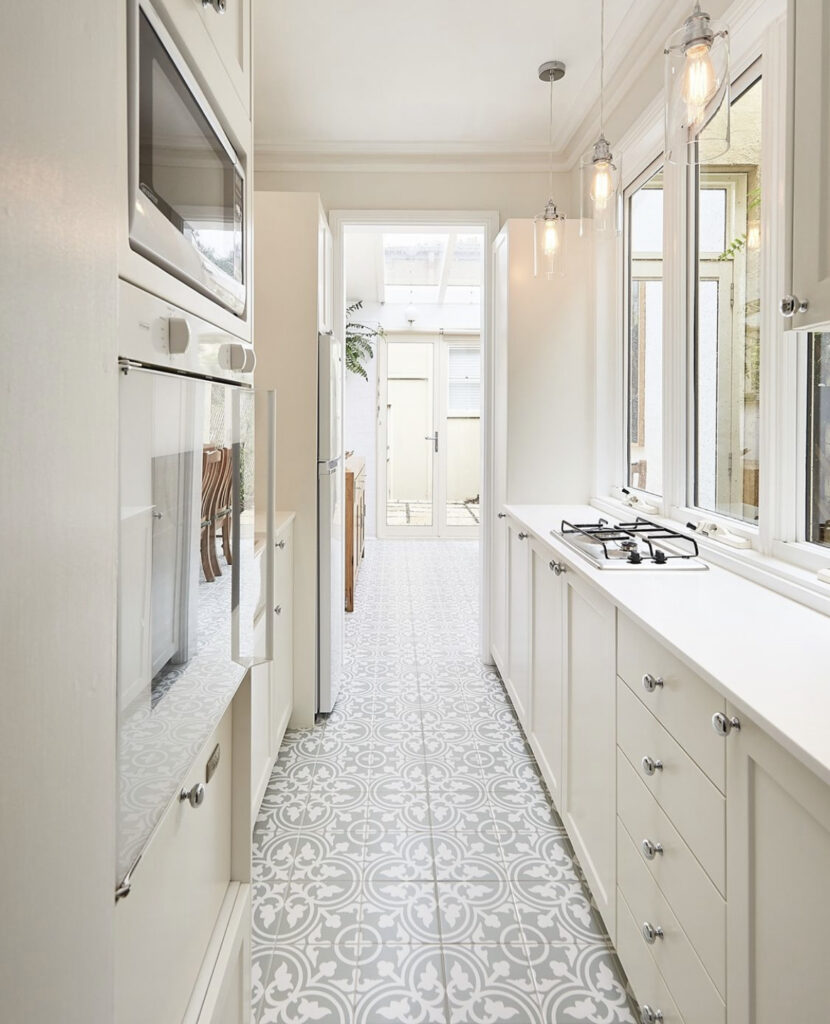
Not using battens
Optimally you should use battens (thin rods of wood, or alternatively any other long straight object) both in horizontal and vertical directions to lay tiles in straight lines. Trying to lay tiles without a helper tool can result in positioning mistakes and a bad looking tiled surface.
Discovering and fixing mistakes too late
It is rare for a first-time tiling job to be done perfectly. Most likely, you will have a few awkward spots here and there. So, it is important to have a fresh eye to look over your tiling results within the first 6-12 hours. The faster you spot problems, the easier it is to fix them. A misplaced tile identified more than 24 hours after tiling can be quite difficult to fix as the grout will already have hardened.
Not removing excess grout
One of the most common signs of amateur tiling is protruding grout. Luckily, it is easy to fix.
Miscalculations with the number of tiles needed
Some first-time tilers buy the exact number of tiles for the area they want to cover. However, its is best practice, to get 10% more tiles than the minimum to account for breakages, miscalculations and difficulties in cutting. This also allows for the replacement of cracked tiles in the future.
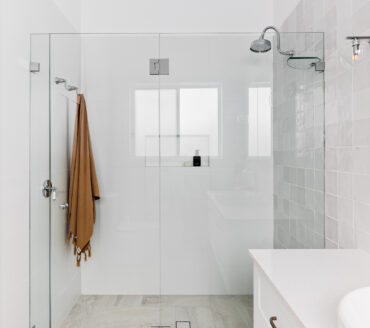
Improper sealing of bath tops
If the gap between the bottom row of tiles and the bath top is not sealed properly, water may leak into it, so it is recommended to fill the bath first before using the sealant.
Insufficient or erroneous planning
This is probably the worst mistake, and also the easiest to avoid. Instead of going for a make-do solution, carefully measure out the surface you need to tile. Be aware that installing a curved tile is more difficult than tiling a flat wall. Plan for at least 10% waste and spare tiles for future replacement tiles, and keep it simple by making fewer cuts to lessen the chance of mistakes.